One day your AirPods sound clear. A few weeks later, one side sounds quieter, voices feel muffled, or the bass seems weaker than before. Many people think the battery is dying or the speaker is broken, but a lot of the time the real problem is simple buildup around the speaker mesh.
AirPods sit close to your ear, so they collect earwax, skin oil, lint, dust, sweat, and pocket debris. That buildup can block sound before it ever reaches your ear. I have seen AirPods that looked almost clean from a distance, but under a light the speaker mesh was packed with a thin layer of wax and lint.
The tricky part is that AirPods are small and delicate. Cleaning them the wrong way can make the problem worse. A pin, toothpick, too much water, or hard scrubbing can damage the mesh, push debris deeper, or affect the speaker inside.
This guide shows you how to clean AirPods safely, what to avoid, and how to check whether the sound improves after cleaning.
Quick Answer: The Safest Way to Clean AirPods
The safest way to clean AirPods is to use a dry microfiber cloth, a soft dry brush, and gentle pressure around the speaker mesh. Remove silicone ear tips from AirPods Pro before cleaning them. Never soak the AirPods themselves, never spray liquid into the speaker openings, and avoid sharp tools.
If your AirPods sound muffled, clean the speaker mesh gently first, then test the sound. If one side is still quieter, check your iPhone audio balance, Bluetooth settings, and ear tip fit.
What You Need Before Cleaning AirPods
You do not need expensive tools. In fact, simple tools are usually safer.
- Dry microfiber cloth
- Soft-bristled brush or clean soft toothbrush
- Dry cotton swabs
- Small amount of clean water for silicone tips only
- Good lighting
- A clean table or towel
For AirPods Pro silicone tips, you can remove the tips and clean them separately. For the AirPods body, keep moisture away from the speaker openings, microphones, charging contacts, and seams.
Step-by-Step: How to Clean AirPods Safely
1. Remove the AirPods from the case
Take both AirPods out of the charging case. Look at the speaker mesh, microphone openings, side vents, and charging stems. If you see lint or wax, do not scrape it right away. Start with the gentlest method first.
One common mistake is trying to clean the mesh with a pin because the buildup looks stuck. That can tear the mesh or push wax deeper into the speaker opening.
2. Wipe the outside with a microfiber cloth
Use a dry microfiber cloth to wipe the smooth plastic shell. Hold the AirPod firmly but gently. Wipe around the stem, the outer shell, and the area near the speaker grille.
If there is sticky residue on the outside plastic, slightly dampen a small part of the cloth. The cloth should be barely damp, not wet. Keep that moisture away from the mesh and openings.
3. Brush the speaker mesh gently
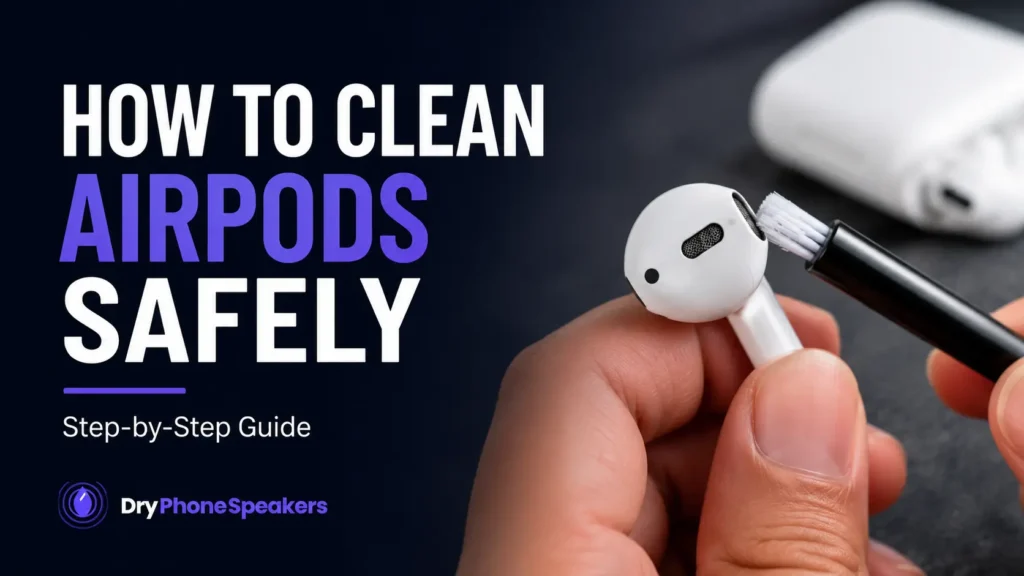
Use a soft dry brush and gently brush across the speaker mesh. Do not press hard. Brush in small strokes and let the bristles lift debris away from the surface.
If the AirPod has a lot of wax buildup, hold it with the speaker mesh facing downward while brushing. This helps loosened debris fall away instead of going deeper into the opening.
I have seen people clean AirPods while holding the mesh facing up, then wonder why the sound gets worse. When debris falls inward, it can block the mesh even more.
4. Use a dry cotton swab around edges
A dry cotton swab can help clean the outer edge of the speaker area and the small grooves around the AirPod. Use light pressure only. Do not force cotton into the mesh holes.
If cotton fibers get caught in the mesh, stop and remove them gently with the brush. Do not dig at the mesh.
5. Clean AirPods Pro ear tips separately
If you have AirPods Pro, remove the silicone ear tips before cleaning. Rinse only the silicone tips with water if needed. Do not rinse the AirPods themselves.
After rinsing the silicone tips, dry them with a clean cloth and let them air-dry completely before putting them back on. If moisture gets trapped inside the tip, it can make sound muffled or affect the fit.
6. Clean the charging case
A dirty case can make clean AirPods dirty again. Use a dry cotton swab to clean inside the case wells. Pay attention to lint, dust, and debris near the charging contacts.
Do not pour liquid into the case. Do not use compressed air directly inside the case. If the charging contacts look dirty, wipe gently and avoid bending or scratching them.
How to Clean Earwax from AirPods Speaker Mesh
Earwax is the most common reason AirPods sound quiet or muffled. The goal is to lift wax away from the mesh, not push it inside.
- Hold the AirPod with the speaker mesh facing downward.
- Use a soft dry brush to loosen surface wax.
- Wipe the loosened debris with a microfiber cloth.
- Repeat slowly instead of pressing harder.
- Test the sound after cleaning.
If the wax is packed into the mesh, cleaning may take several gentle passes. Do not rush it. AirPods are small, and pressure that feels light in your hand can still be too much for the mesh.
What Not to Do When Cleaning AirPods
Most AirPods damage happens when someone tries to clean them aggressively. These are the mistakes I would avoid.
- Do not use pins, needles, knives, or sharp tools.
- Do not soak AirPods in water.
- Do not spray cleaner into the speaker mesh.
- Do not use a hair dryer or heater.
- Do not use compressed air directly into the mesh.
- Do not scrub hard with a stiff brush.
- Do not put wet ear tips back on before they are fully dry.
A lot of people try to fix quiet AirPods by pushing harder into the mesh. That usually does not help. If anything, it can compact the wax and make the sound even more blocked.
Why AirPods Sound Muffled Even After Cleaning
If your AirPods still sound muffled after cleaning, the problem may not be only dirt.
Ear tip fit
AirPods Pro need a good seal to sound full. If the ear tip is loose, damaged, or not seated correctly, bass may sound weak and outside noise may leak in.
Bluetooth connection issues
Sometimes the audio issue is caused by Bluetooth, not the speaker mesh. Disconnect and reconnect your AirPods. You can also forget the device in Bluetooth settings and pair again.
Audio balance settings
If one AirPod is quieter, check your phone’s audio balance. On iPhone, audio balance can shift left or right in accessibility settings. If it is not centered, one side may sound weak even when the AirPods are clean.
Moisture exposure
Sweat, rain, or water exposure can make AirPods sound distorted or crackly. Let them dry in a safe place before using them again. Do not use heat.
If you are troubleshooting phone audio after water exposure, you can also use the Water Eject Tool for phone speakers, then test audio with the Speaker Test.
How Often Should You Clean AirPods?
For most people, a quick wipe once a week is enough. If you wear AirPods while exercising, working outside, or sleeping, clean them more often.
- After workouts: Wipe sweat from the outside.
- Weekly: Brush the speaker mesh gently.
- Monthly: Clean the case and ear tips.
- Any time sound changes: Check for wax or lint buildup.
Small, regular cleaning is safer than waiting until the mesh is badly blocked. Once wax hardens into the speaker grille, it becomes harder to remove without using pressure.
How to Test AirPods After Cleaning
After cleaning, test your AirPods before deciding they are damaged.
- Play a song you know well.
- Listen for left and right balance.
- Try a podcast or voice recording to check clarity.
- Make a short call to test microphones.
- Try both noise control modes if you use AirPods Pro.
If your phone speaker also sounds quiet or distorted, use the Speaker Test to check volume, buzzing, crackling, and clarity. If people cannot hear you clearly on calls, try the Microphone Test as well.
When Cleaning Is Not Enough
Cleaning can help when the issue is wax, lint, oil, or light debris. It cannot repair a damaged speaker, failed battery, broken microphone, corrosion, or internal liquid damage.
You may need professional service or replacement if:
- One AirPod is still much quieter after careful cleaning.
- The sound is crackly even at low volume.
- The AirPods were exposed to heavy water or liquid.
- The case no longer charges one side reliably.
- The microphone sounds muffled on every call.
- Noise cancellation has suddenly become weak or uneven.
Before paying for repair, clean them carefully, reset Bluetooth, test them on another device, and check your phone settings. This helps you avoid replacing AirPods when the real problem is buildup or a simple setting.
Prevention Tips to Keep AirPods Clean Longer
- Store AirPods in the case when not in use.
- Do not keep loose AirPods in pockets with lint.
- Wipe them after workouts.
- Clean ear tips before they turn sticky or discolored.
- Keep the charging case clean inside.
- Avoid sharing earbuds without cleaning them.
Clean storage matters. If the case is full of lint and wax, your AirPods will get dirty again right after you clean them.
Final Thoughts
Cleaning AirPods safely is mostly about patience. Use dry tools, gentle pressure, and good lighting. Do not scrape the speaker mesh or force liquid into openings.
If your AirPods sound muffled, start with the speaker mesh and ear tips. If the sound improves after cleaning, the issue was likely buildup. If the sound stays distorted, quiet, or uneven, check your Bluetooth settings, audio balance, and charging case before assuming the AirPods are permanently damaged.